Low-Pressure Grouting
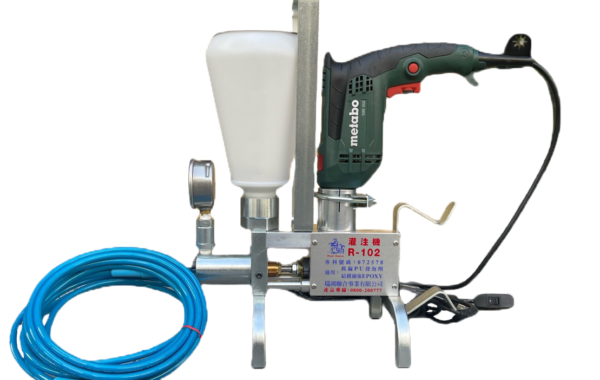
Low-Pressure Grouting or also known as Epoxy Injection uses Epoxy to inject into cracks, voids, and defects in a concrete structure which compromises the concrete’s stability and strength.
In this step-by-step guide, we will walk you through the process of using a low-pressure packer. Whether you are a professional or a DIY enthusiast, this guide will provide you with expert tips and advice for ensuring successful results.
Construction Steps
1. Identify Cracks
Determine the location and size of the cracks in the concrete structure.
2. Make a V-Shaped Groove on Cracks
Using a diamond grooving rod, create a V-shaped groove directly on the cracks.
3. Install Base
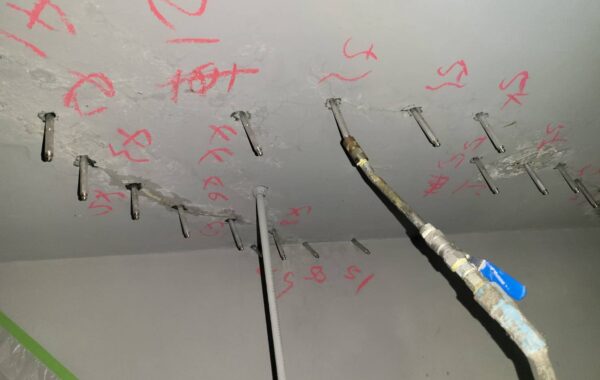
Install a base over the V-shaped groove and stabilize it with sealant. Make sure that the injection hole is not blocked. The bases should be spaced approximately 30 cm apart.
4. Seal Cracks
Seal the cracks with sealant and allow it to harden before proceeding. The hardening process may take 12-24 hours depending on temperature and moisture levels.
5. Install Low-Pressure Injection Packers
Fill a syringe with the injection agent, making sure to eliminate any air bubbles. Insert the syringe into the base and secure it with a rubber band.
6. Wait until Hardened
Allow the injection agent to harden for at least three days. If the agent has been completely injected, replace the syringe with a new one.
7. Remove Injection Packers
Once the injection agent has hardened, remove the low-pressure injection packers and check for any remaining gaps in the cracks.
8. Clean Up
Remove any excess sealant and use a wall filler to smooth the surface. Finally, apply paint to the repaired area as needed.


