Introduction
High-Pressure Grouting or Injecting is a method that uses substances like PU or Epoxy to reinforce concrete structures by injecting them into cracks and voids. This process not only prevents water leakage but also enhances structural reinforcement. A high-pressure grouting machine is a powerful tool that is essential for achieving effective results with this method.
In this step-by-step guide, we will walk you through the process of using a high-pressure grouting machine, including the use of the machine, installing injection packers, and injecting polyurethane (PU) or Epoxy injecting agent with techniques for water leak repair. Whether you are a professional or a DIY enthusiast, this guide will provide you with expert tips and advice for ensuring successful results.
Required Tools & Materials
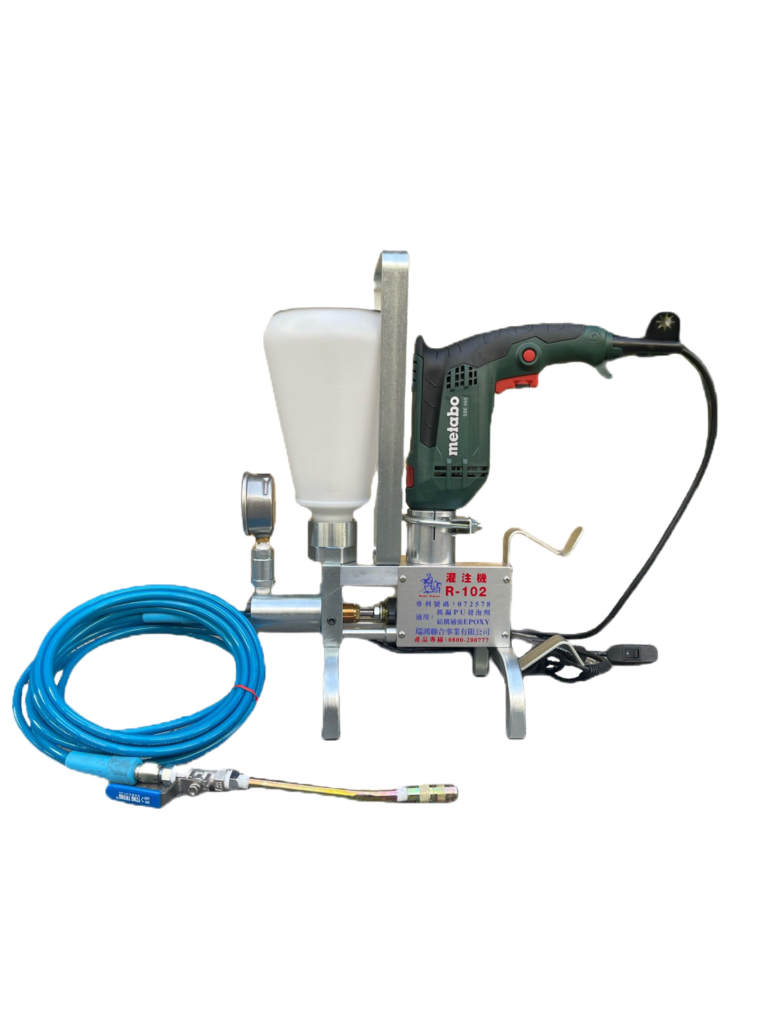
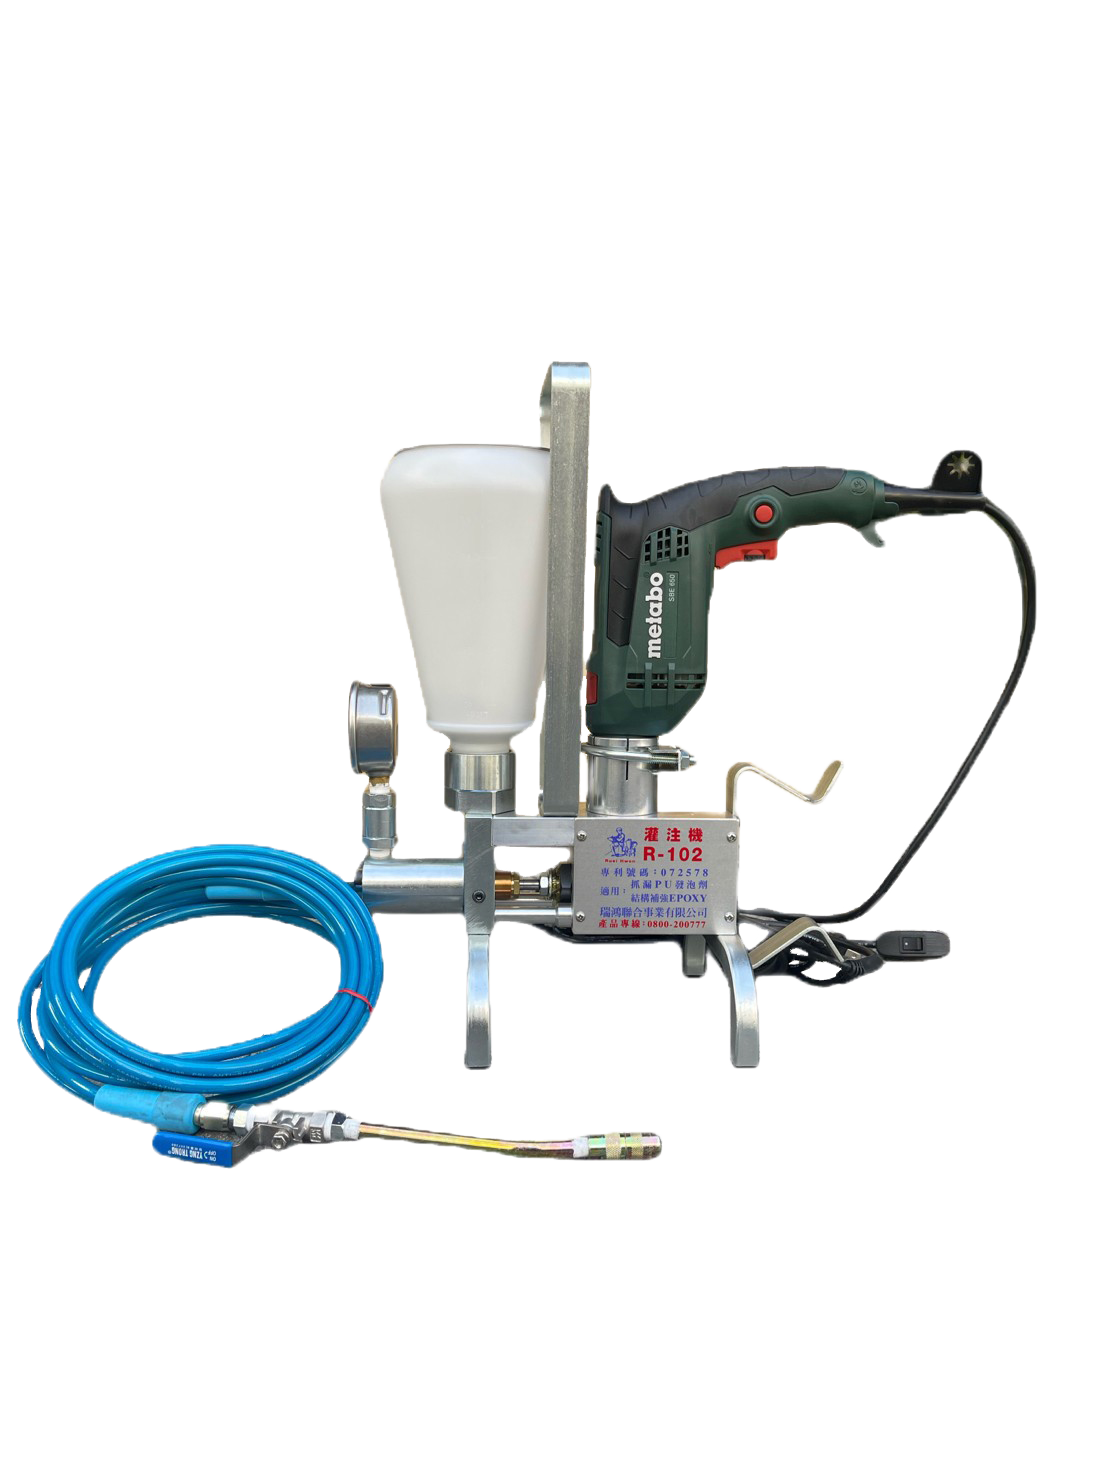
High-Pressure Grouting Machine
This powerful tool is used to inject injection agents, such as PU or epoxy, into cracks and voids within concrete structures. Its high-pressure capabilities ensure the effective penetration of the injection agent, leading to better reinforcement and sealing.
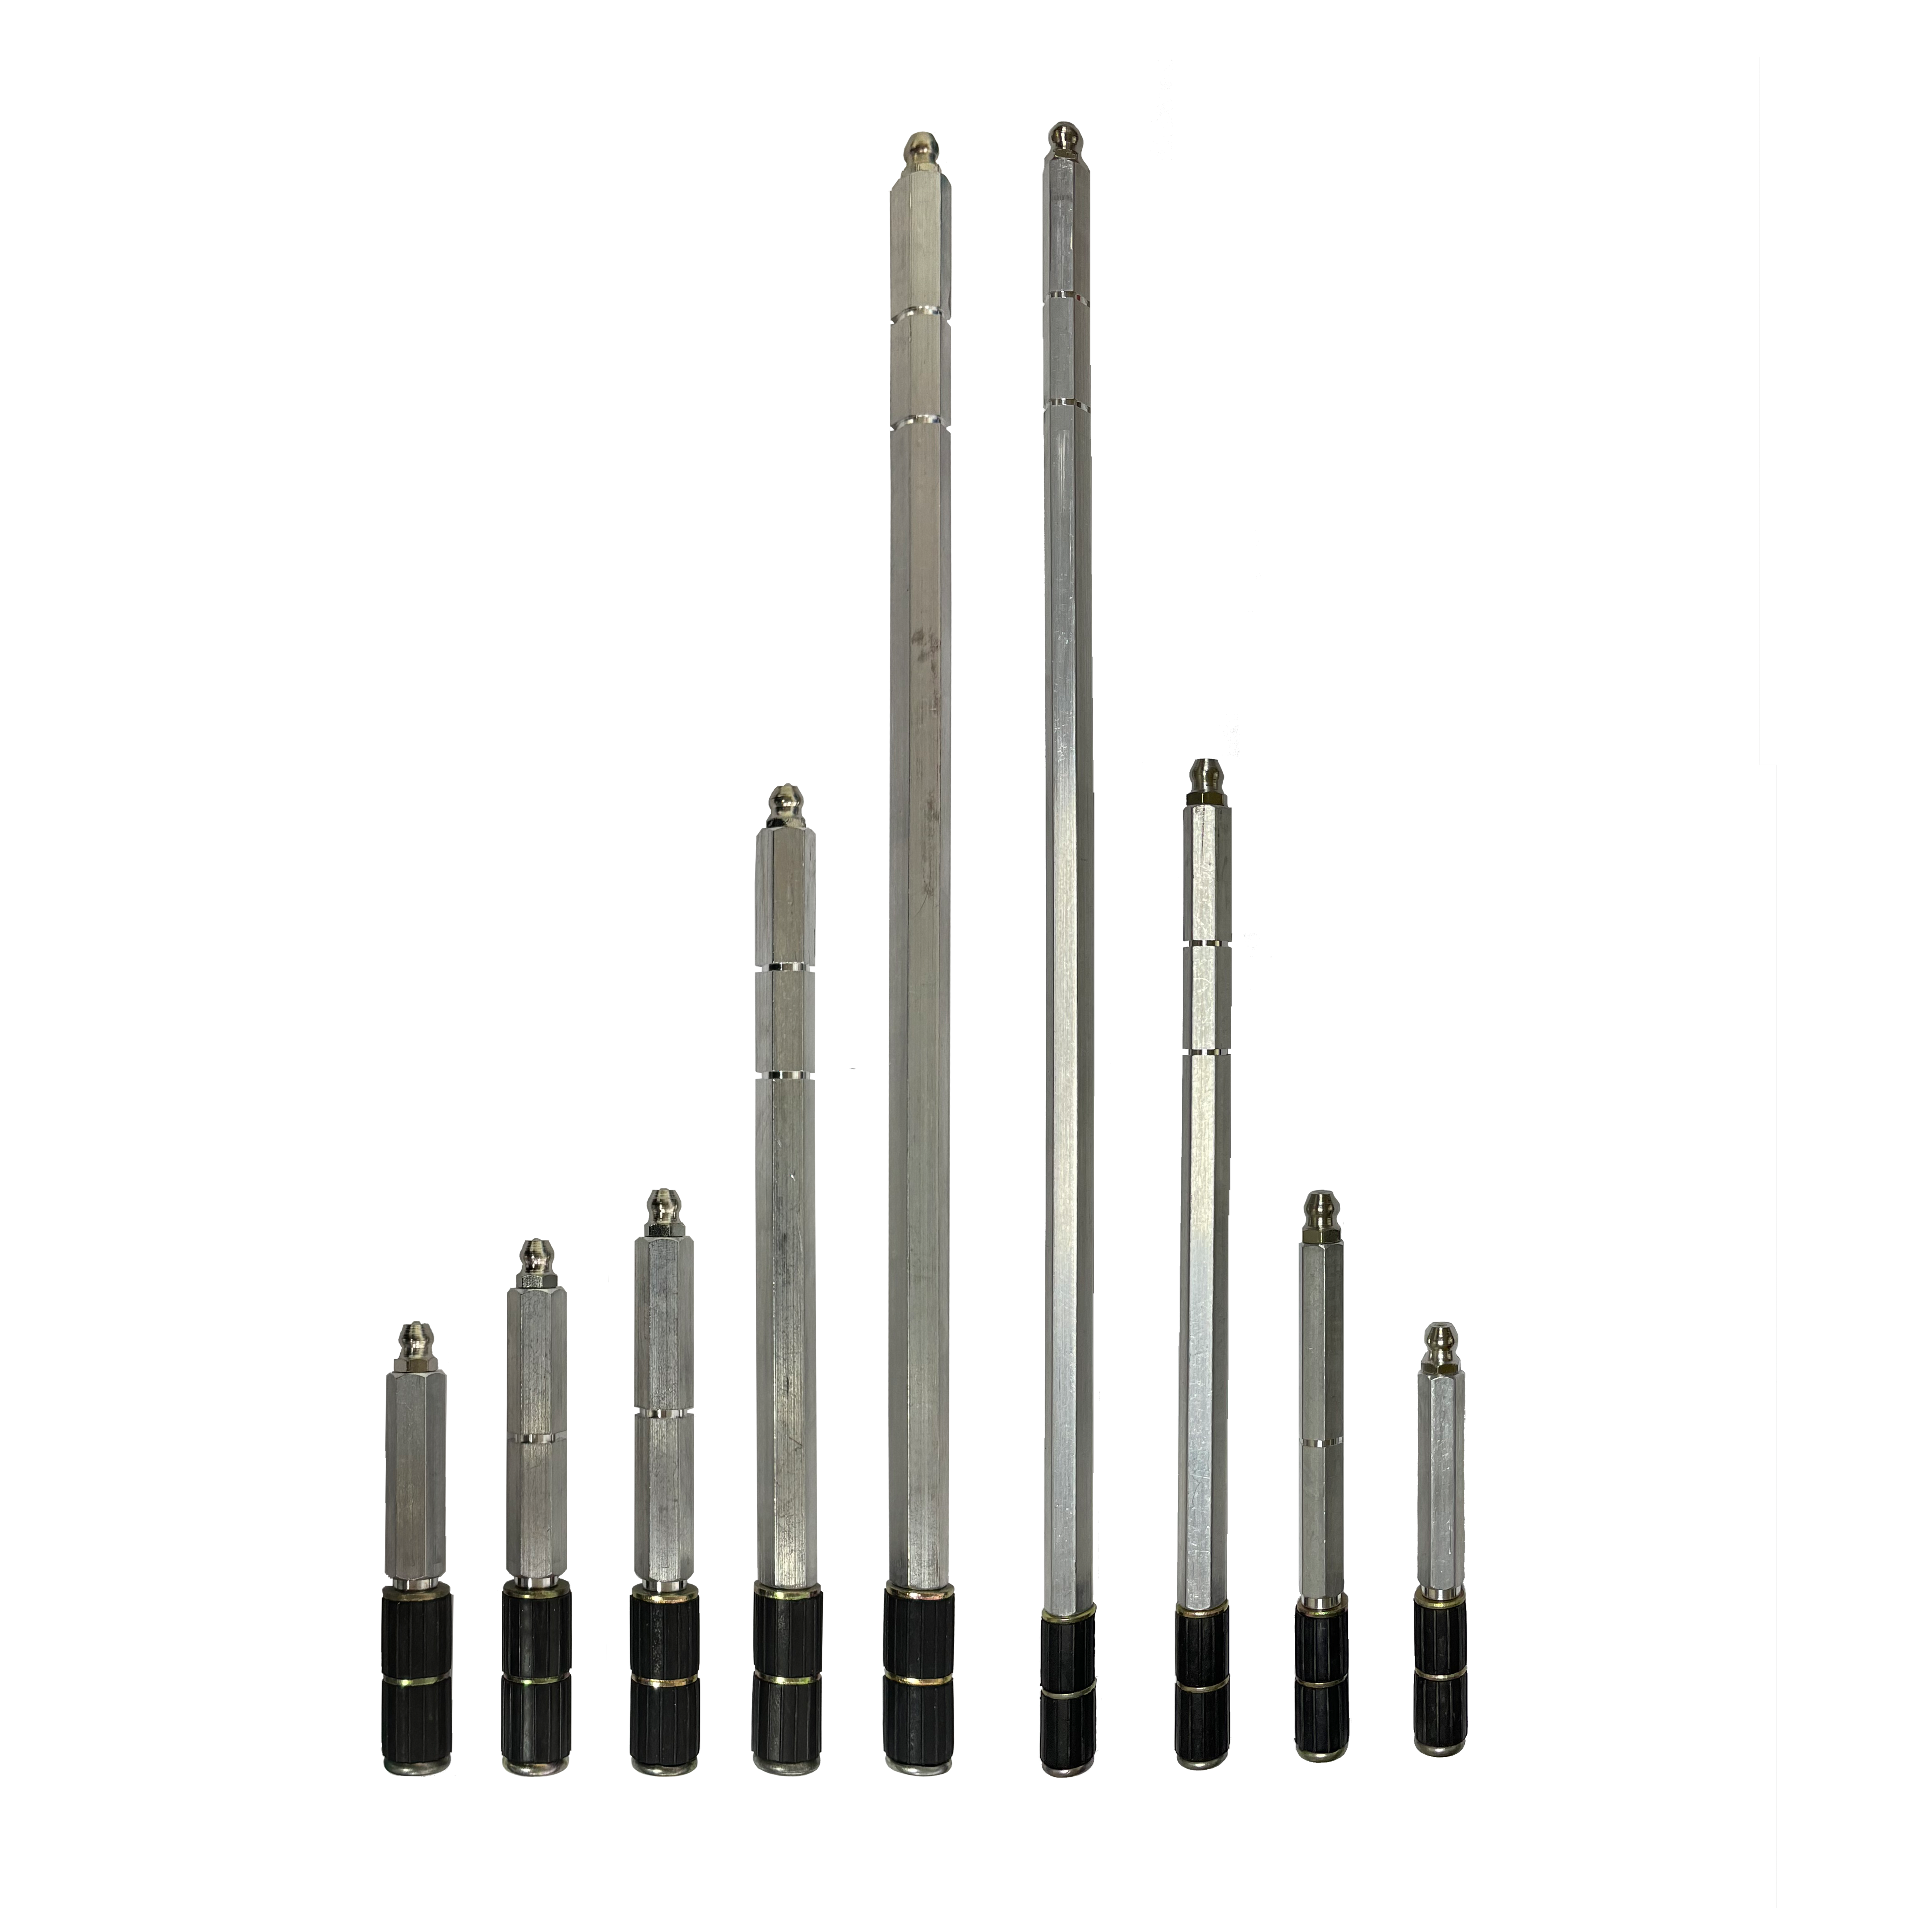
Injection Packers
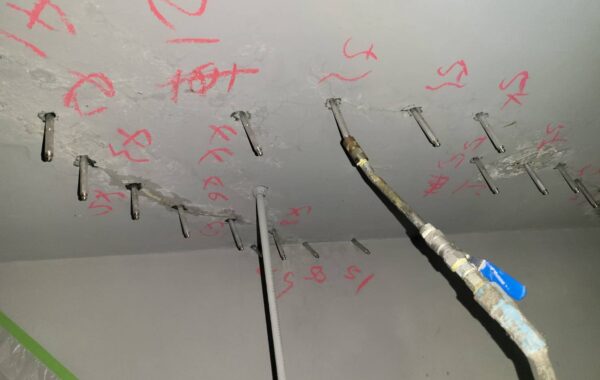
These are small devices, with bodies made of aluminum and bases made of rubber to create full contact with the walls and prevent leakage, that are inserted into pre-drilled holes in the concrete. They serve as entry points for the injection agent, allowing for precise and controlled delivery of the grouting material into the structure.
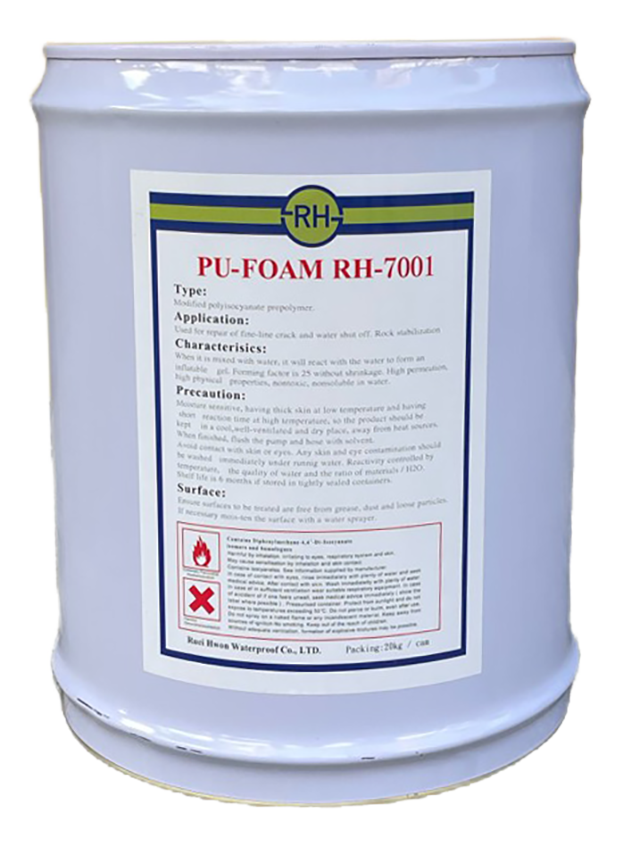
Polyurethane (PU) or Epoxy Injection Agent
PU and epoxy are versatile substances used in water-leakage and crack repairs to fill and seal cracks and voids in concrete. They expand and harden upon injection, effectively preventing water leaks and reinforcing the structural integrity.
Construction Steps
1. Identify Cracks
2. Drill Holes
3. Install Injection Packers
4. Using High-Pressure Grouting Machine
5. Wait until Hardened
6. Remove Injection Packers
7. Clean Up
Clean up any remaining reacting agents residue and fill in holes in walls or ceilings left by injection packers.

